How to Use Mail Merge in Microsoft Word

Use mail merge to create and print too many letters and other documents to different persons.
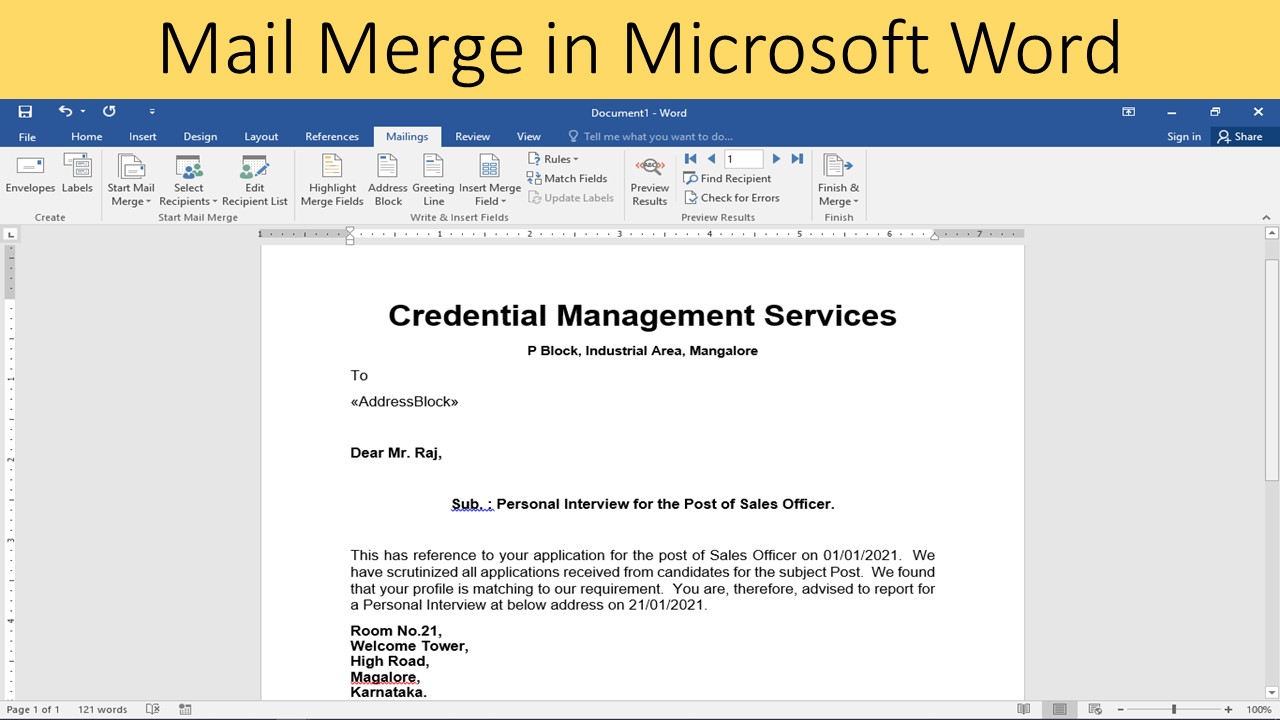
Use mail merge to create and print too many letters and other documents to different persons.
Mail merge is used to create a set of documents, such as a form letter(interview call/offer letters) that is sent to many candidates.
Each letter has unique information.
For example, in letters to candidates, each letter can be personalized to address each candidate by name.
The mail merge process requires the following steps:
Set up the main document.
The main document contains contents which will be used in each document.
Connect the document to a data source.
A data source is a file that contains the information to be merged into a document. Normally we can use excel file contains the names and addresses of the recipients of a letter.
Microsoft Office Word generates a copy of the main document for each item, or record, in your data file.
If your data file is a mailing list, these items are probably recipients of your mailing.
If you want to generate copies for only certain items in your data file, you can choose which items (records) to include.
Input mail merge fields, to the document.
Then do the mail merge, the mail merge fields will be filled with information from your data file.
Preview and complete the merge.
Preview one copy of the document before you print the documents.
STEP BY STEP PROCEDURE CAN ALSO BE FOLLOWED.
- GO TO MAILINGS
- START MAIL MERGE
- CLICK ON STEP BY STEP MAIL MERGE WIZARD
- A WINDOW WILL BE OPENED ON THE RIGHT HAND SIDE
- SELECT “LETTERS” OUT OF THE LIST
- CLICK ON THE BLUE LINK CREATE LETTER
- USE EXISTING LETTER
- TYPE THE CONTENTS
- SELECT RECIPIENTS
- SELECT THE FILE “EXCEL” / DATA FILE
- INPUT THE REQUIRED ADDRESS FIELDS
- INPUT THE MERGE FIELDS IN FRONT OF THE FIELD/DATE / TITLE
- A MESSAGE BOX WILL BE DISPLAYED
- CLICK OK AND CONTINUE PREVIEW RESULTS
- THEN FINISH THE MAIL MERGE.
- TAKE PRINT OUT OF THE DOCUMENTS/LETTERS AND IF YOU WANT COPY YOU CAN SAVE OR NOT.
- SAVE THE MAIN CONTENT DOCUMENT AND ITS SETTINGS FOR FUTURE USE.
- FOR PRINTING THE ENTIRE DOCUMENTS WILL BE PRINTED
- IF YOU WANT TO SELECT ANY PARTICULAR PERSON OR SOME LETTERS ONLY THEN SELECT THE LETTERS YOU WANT TO PRINT AND GIVE OPTION FOR PRINT SELECTION.
Comments
Post a Comment